

My Meals
User Guide for The My Meals Screen.
This page will give a break down of all the functionality available on the My Meals screen and how it's accessed and used.

1. Initial Screen with No Saved Meals
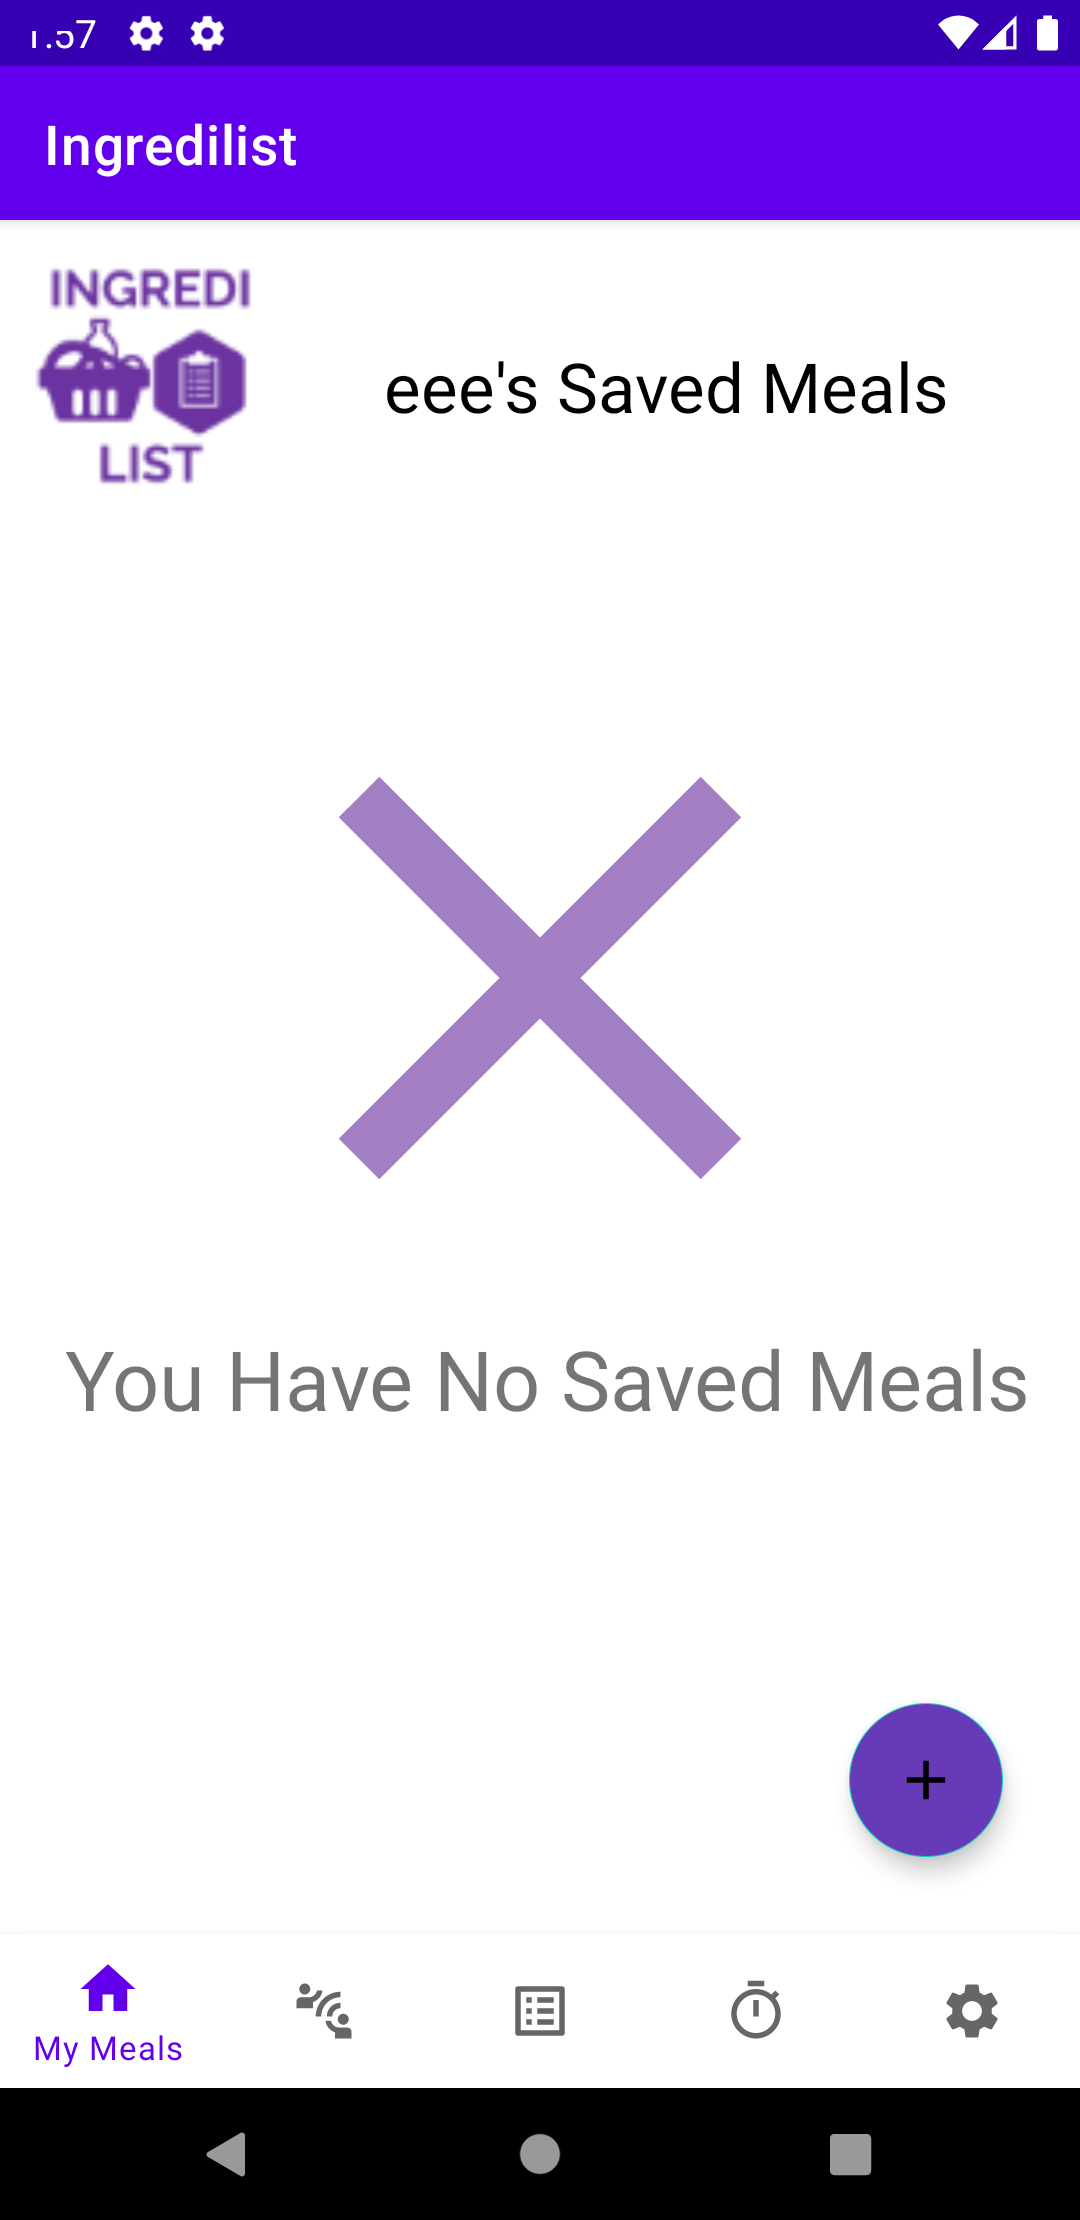
The screen you land on after the login screen or when pressing the home icon in the bottom navigation bar is the my meals screen, where all the meals you've created are shown. If you reach the my meals screen but you have no saved meals that you have created, then you will see a watermark on the screen that indicates you have no saved meals. In order to create a meal, simply press the add button shown at the bottom right of the screen
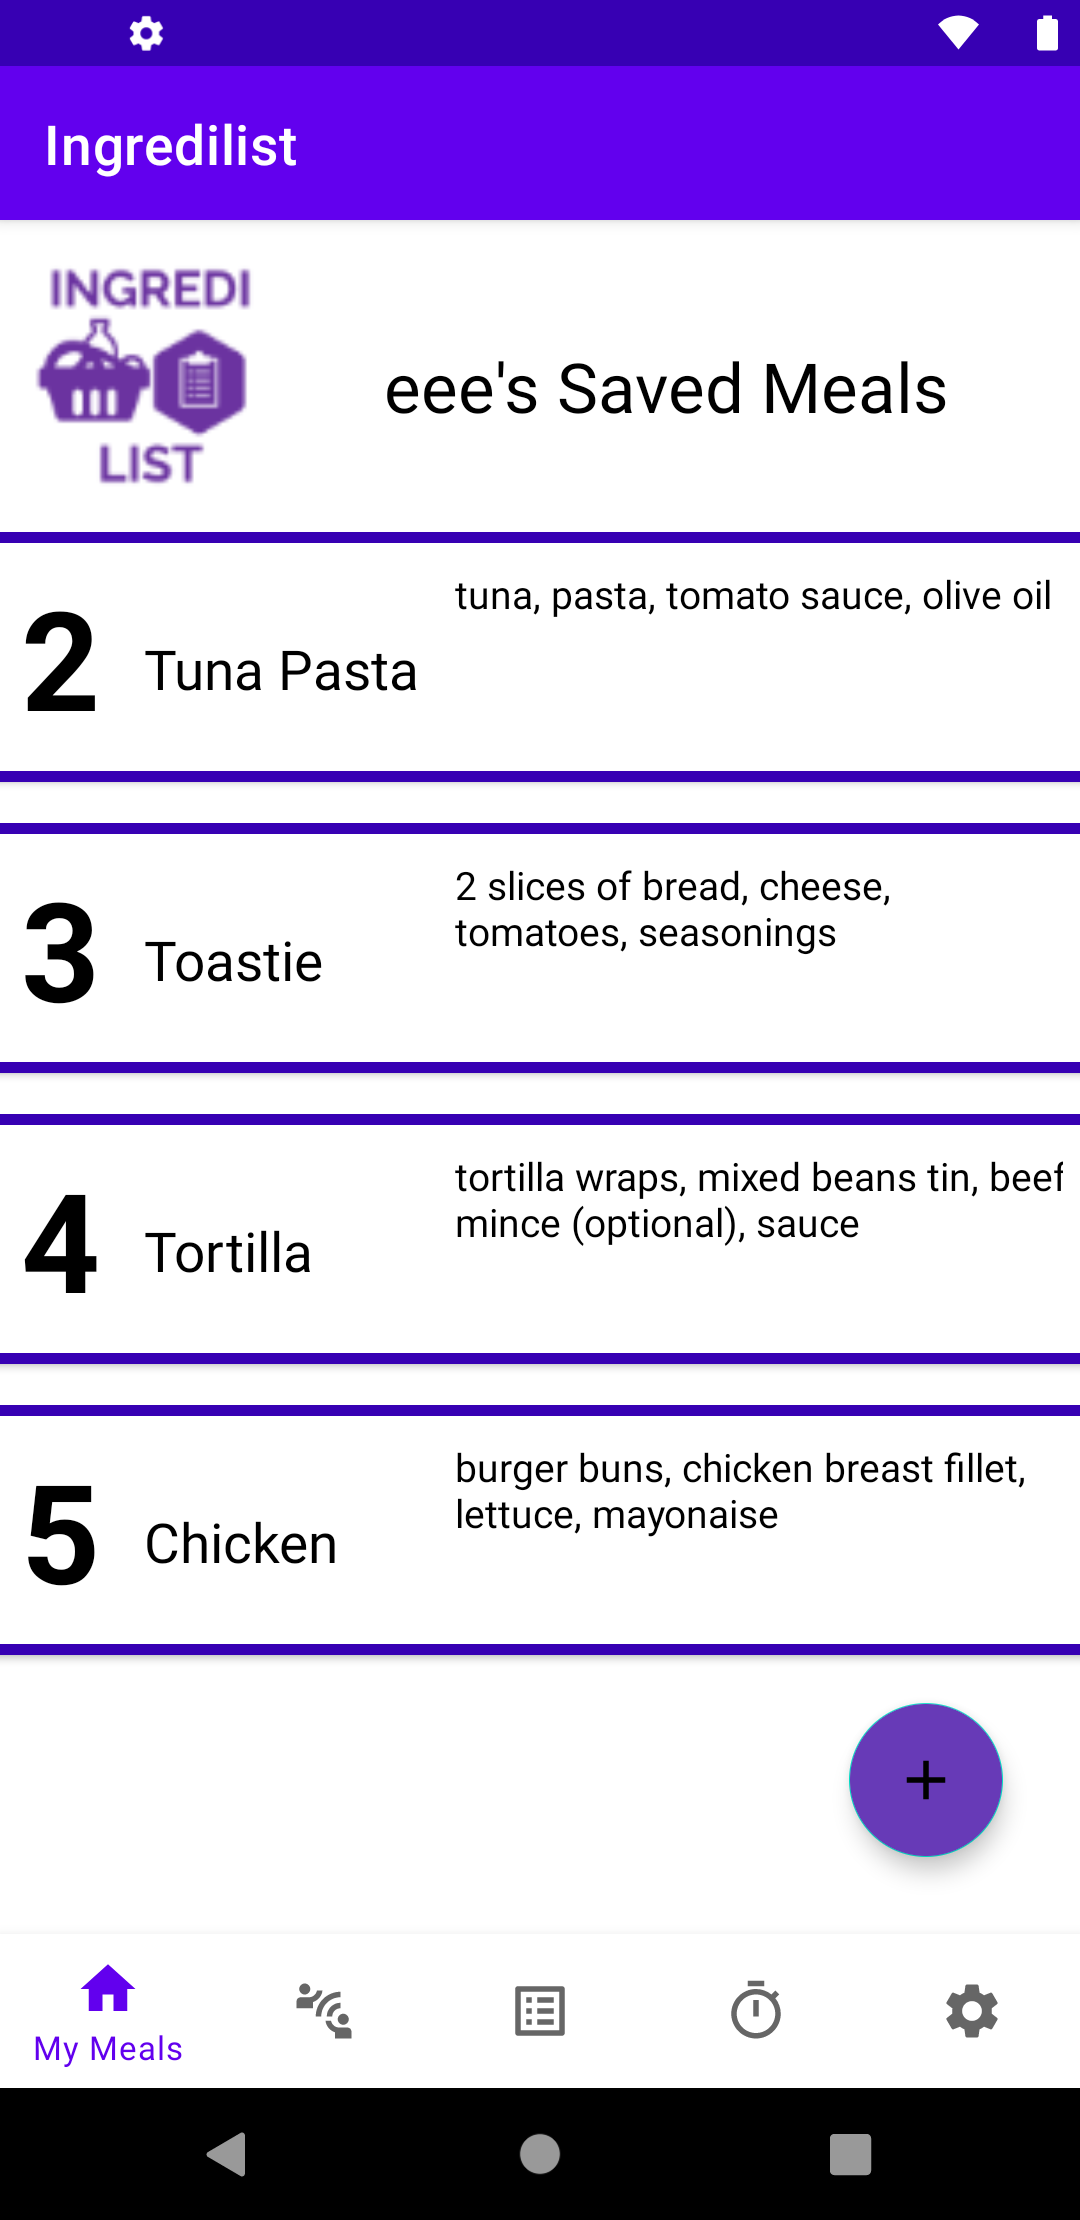
2. Meals Screen with Saved Meals
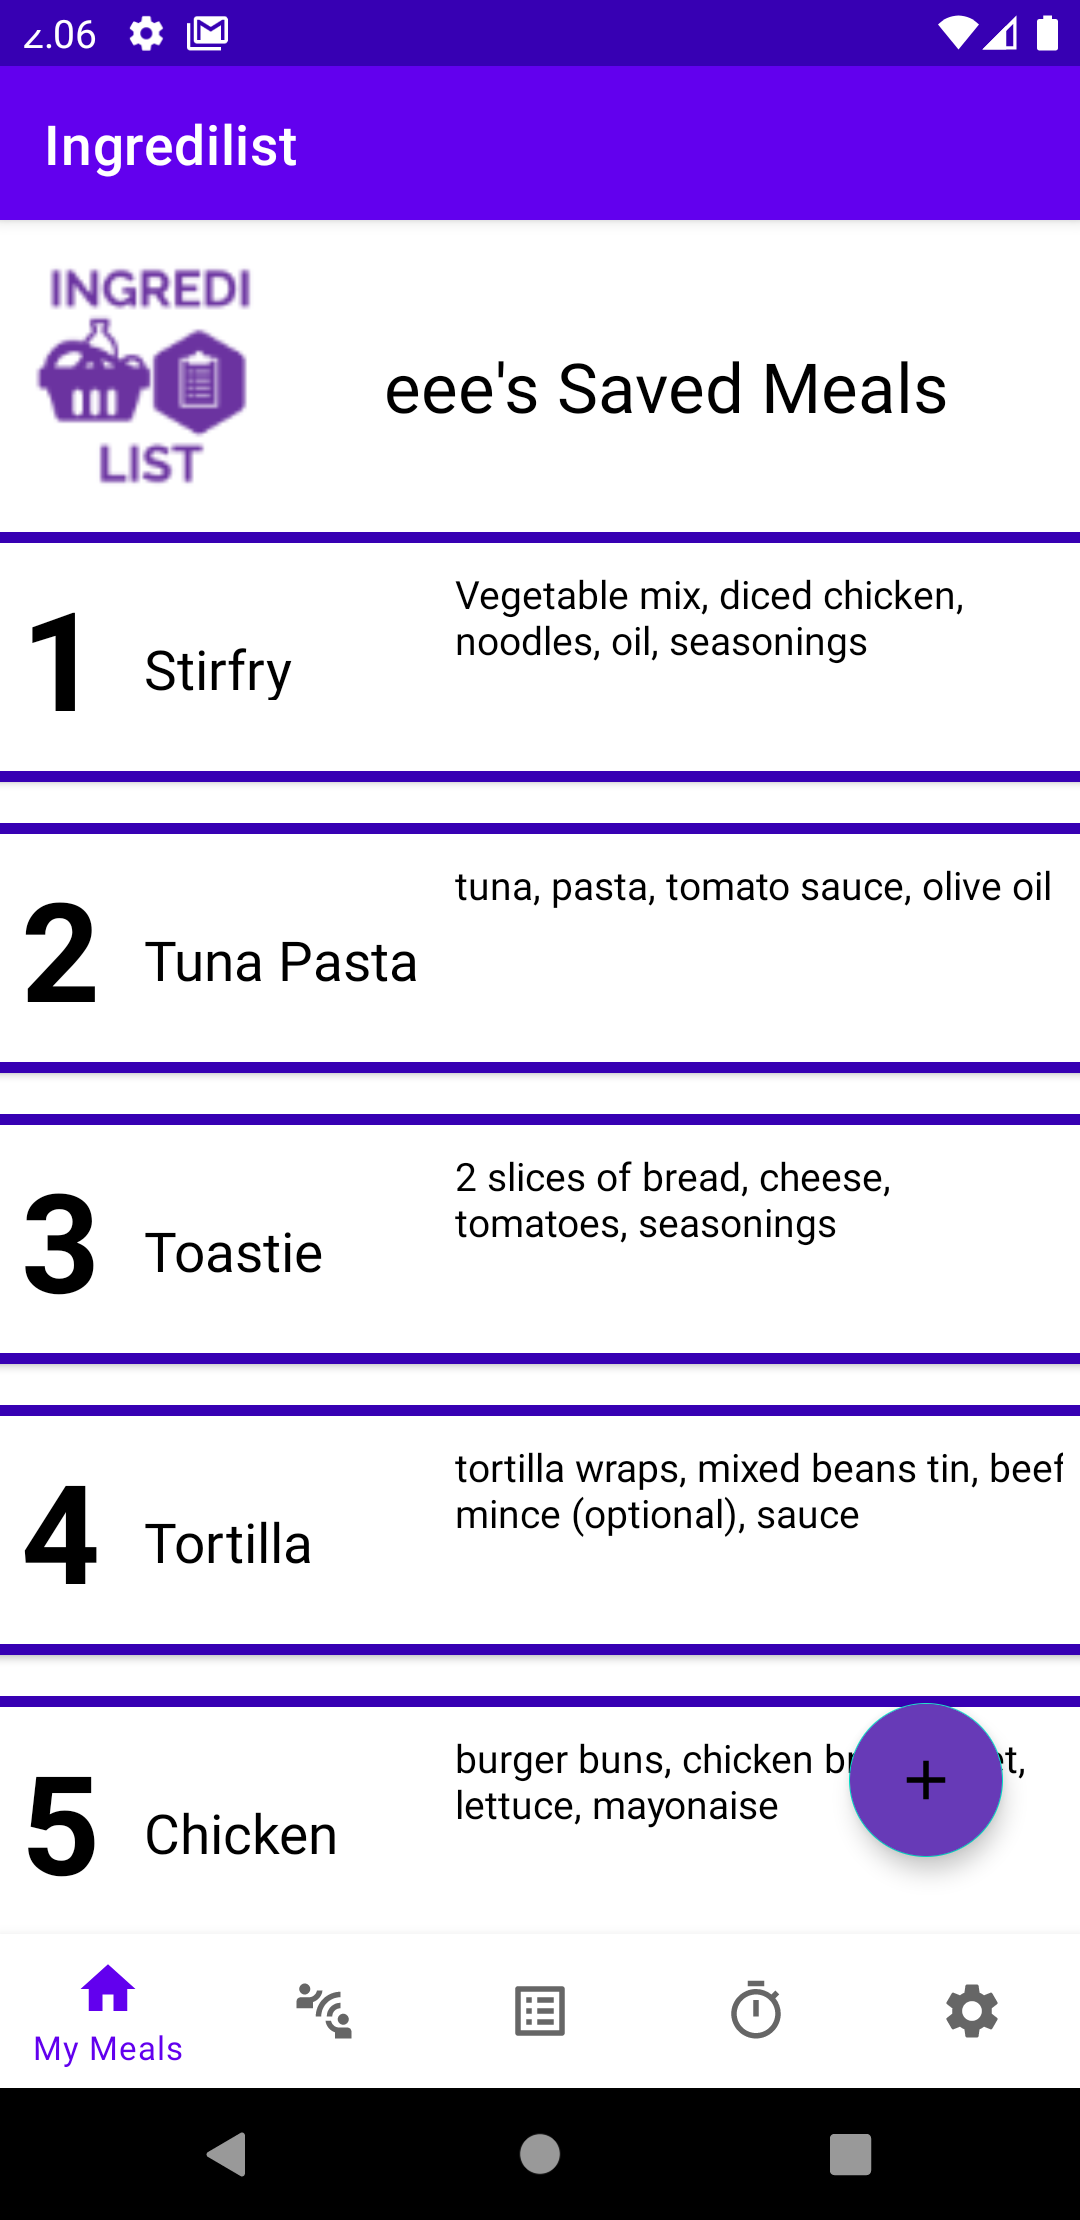
After you have added a meal, the main meals screen will list your created meal along with all other meals you have created in the past. These meals will stay in this view unless you delete the meal. You will then be taken to a screen regarding that meal where you can either change the details of that meal and press update to update it, or delete the meal by pressing the delete button which deletes it from your account.
3. Creating a Meal
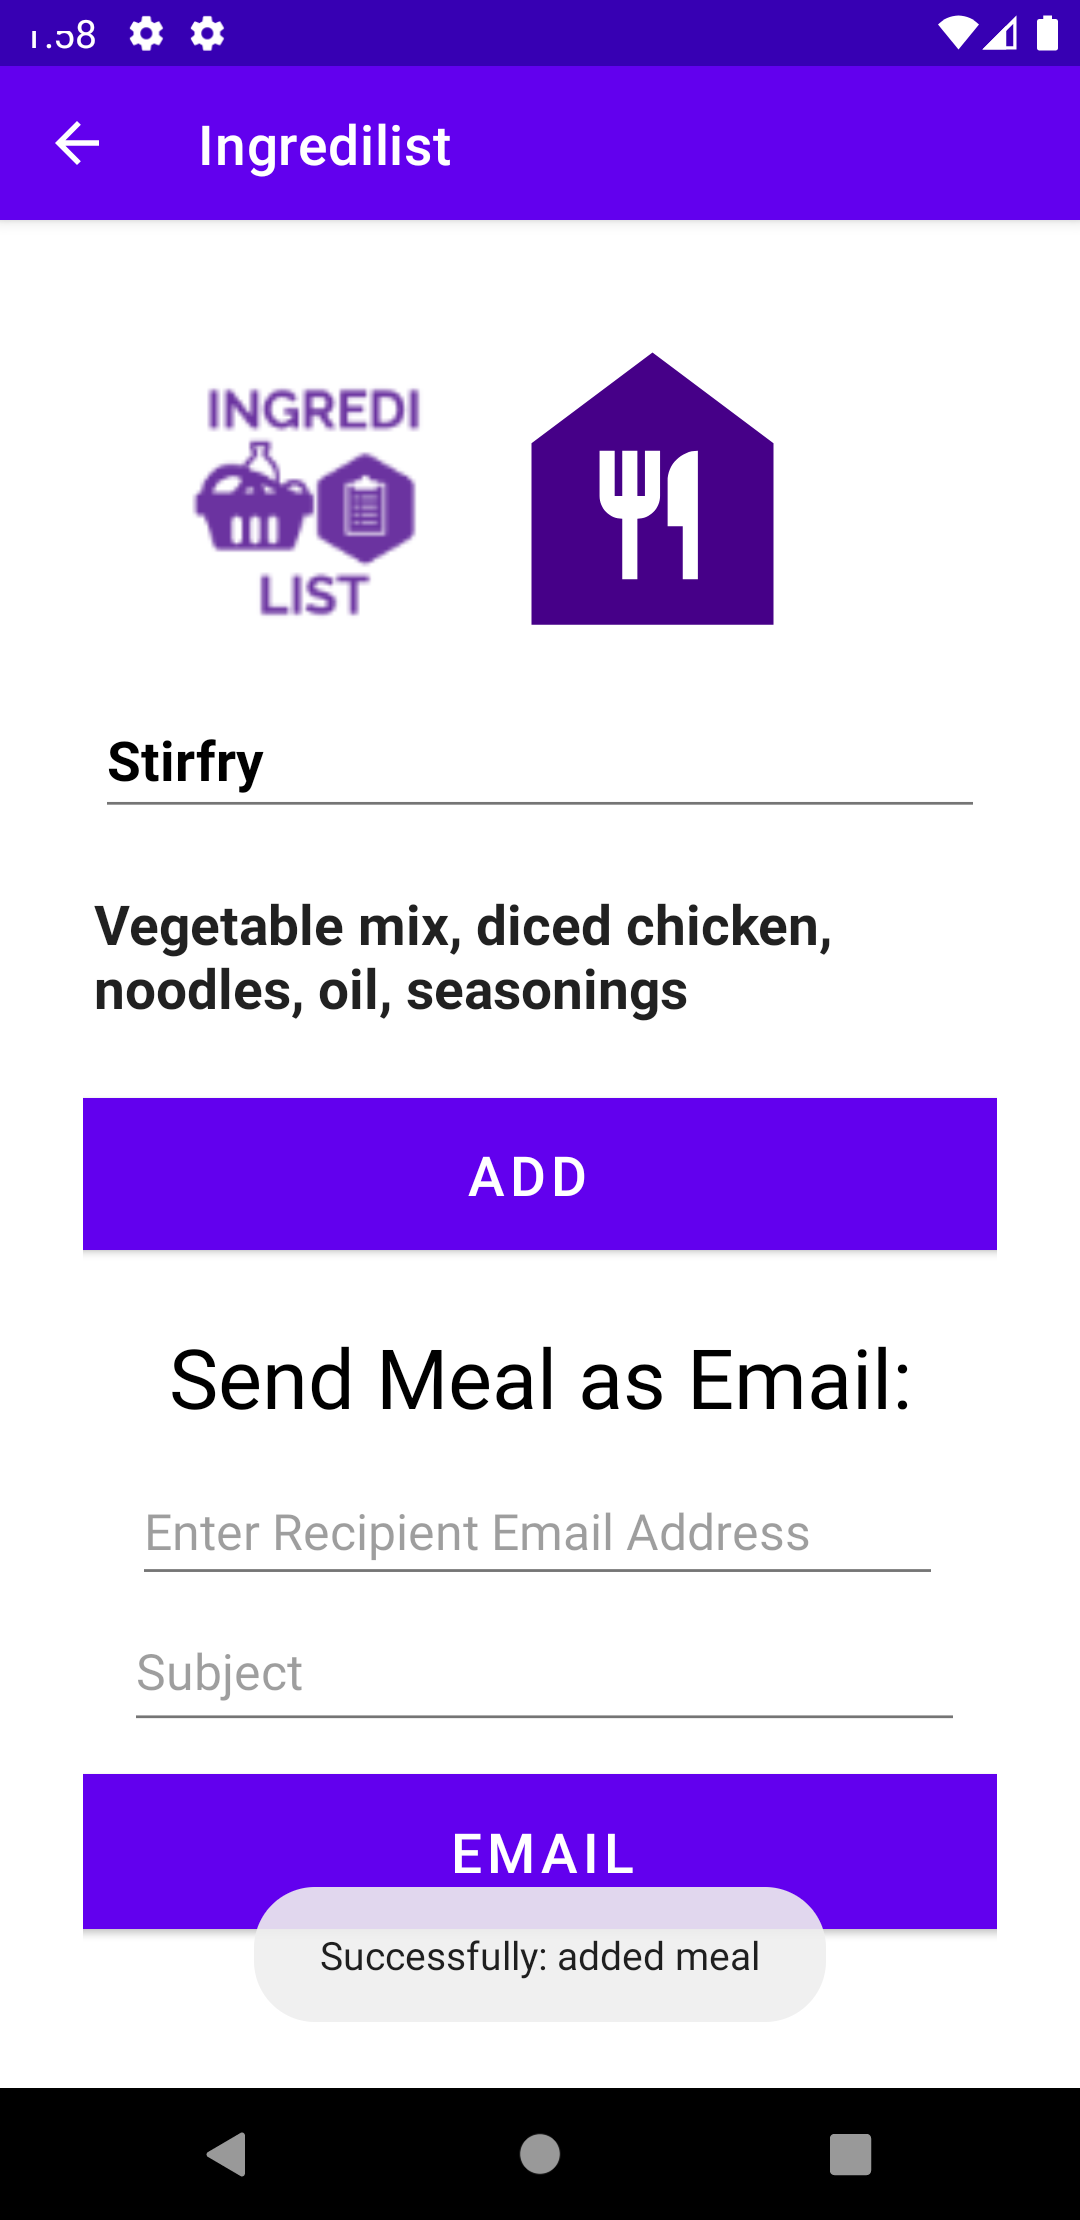
Once you press the add icon on the main meals screen, you will be navigated to this add meal screen. Here, you can type in the meal name and ingredients and then save the meal you created by pressing the add button. After pressing the add button a toast message will appear on the screen informing you that the meal as been added. Navigate back to the main my meals screen to view this meal. You can navigate back by pressing the back icon in the top action bar on the top left.
The parent activity of this activity is the user profile screen, which can be accessed the pressing the back icon in the action bar
4.1 Sending a Meal Via E-Mail
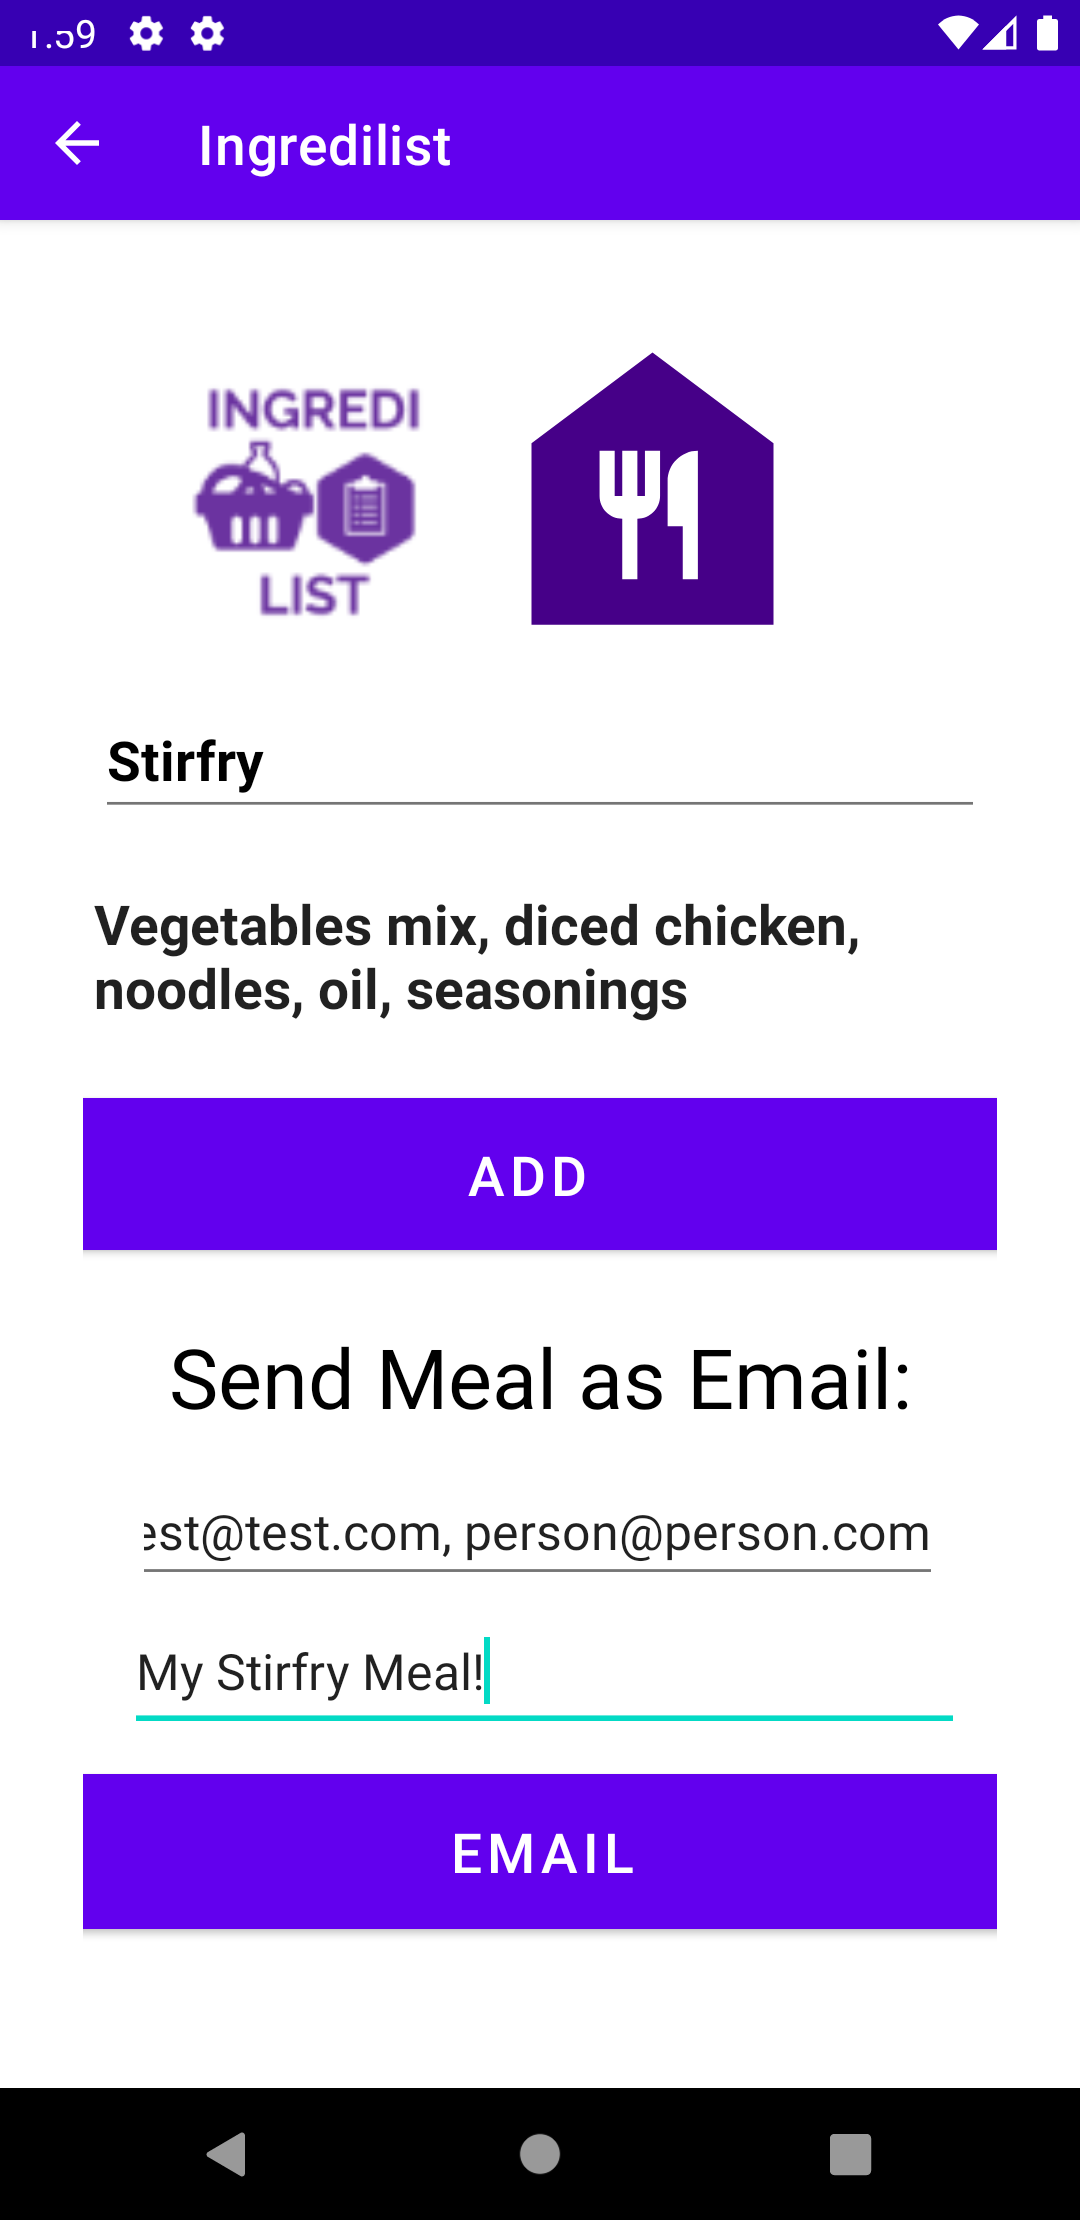
Here you can also send meals via email to whom you like. Simply type in a meal name, the ingredients of the meal, the email of your recipient (you can add more than one email here seperated by a comma), the subject line of your email, and press the EMAIL button located at the bottom of the screen.
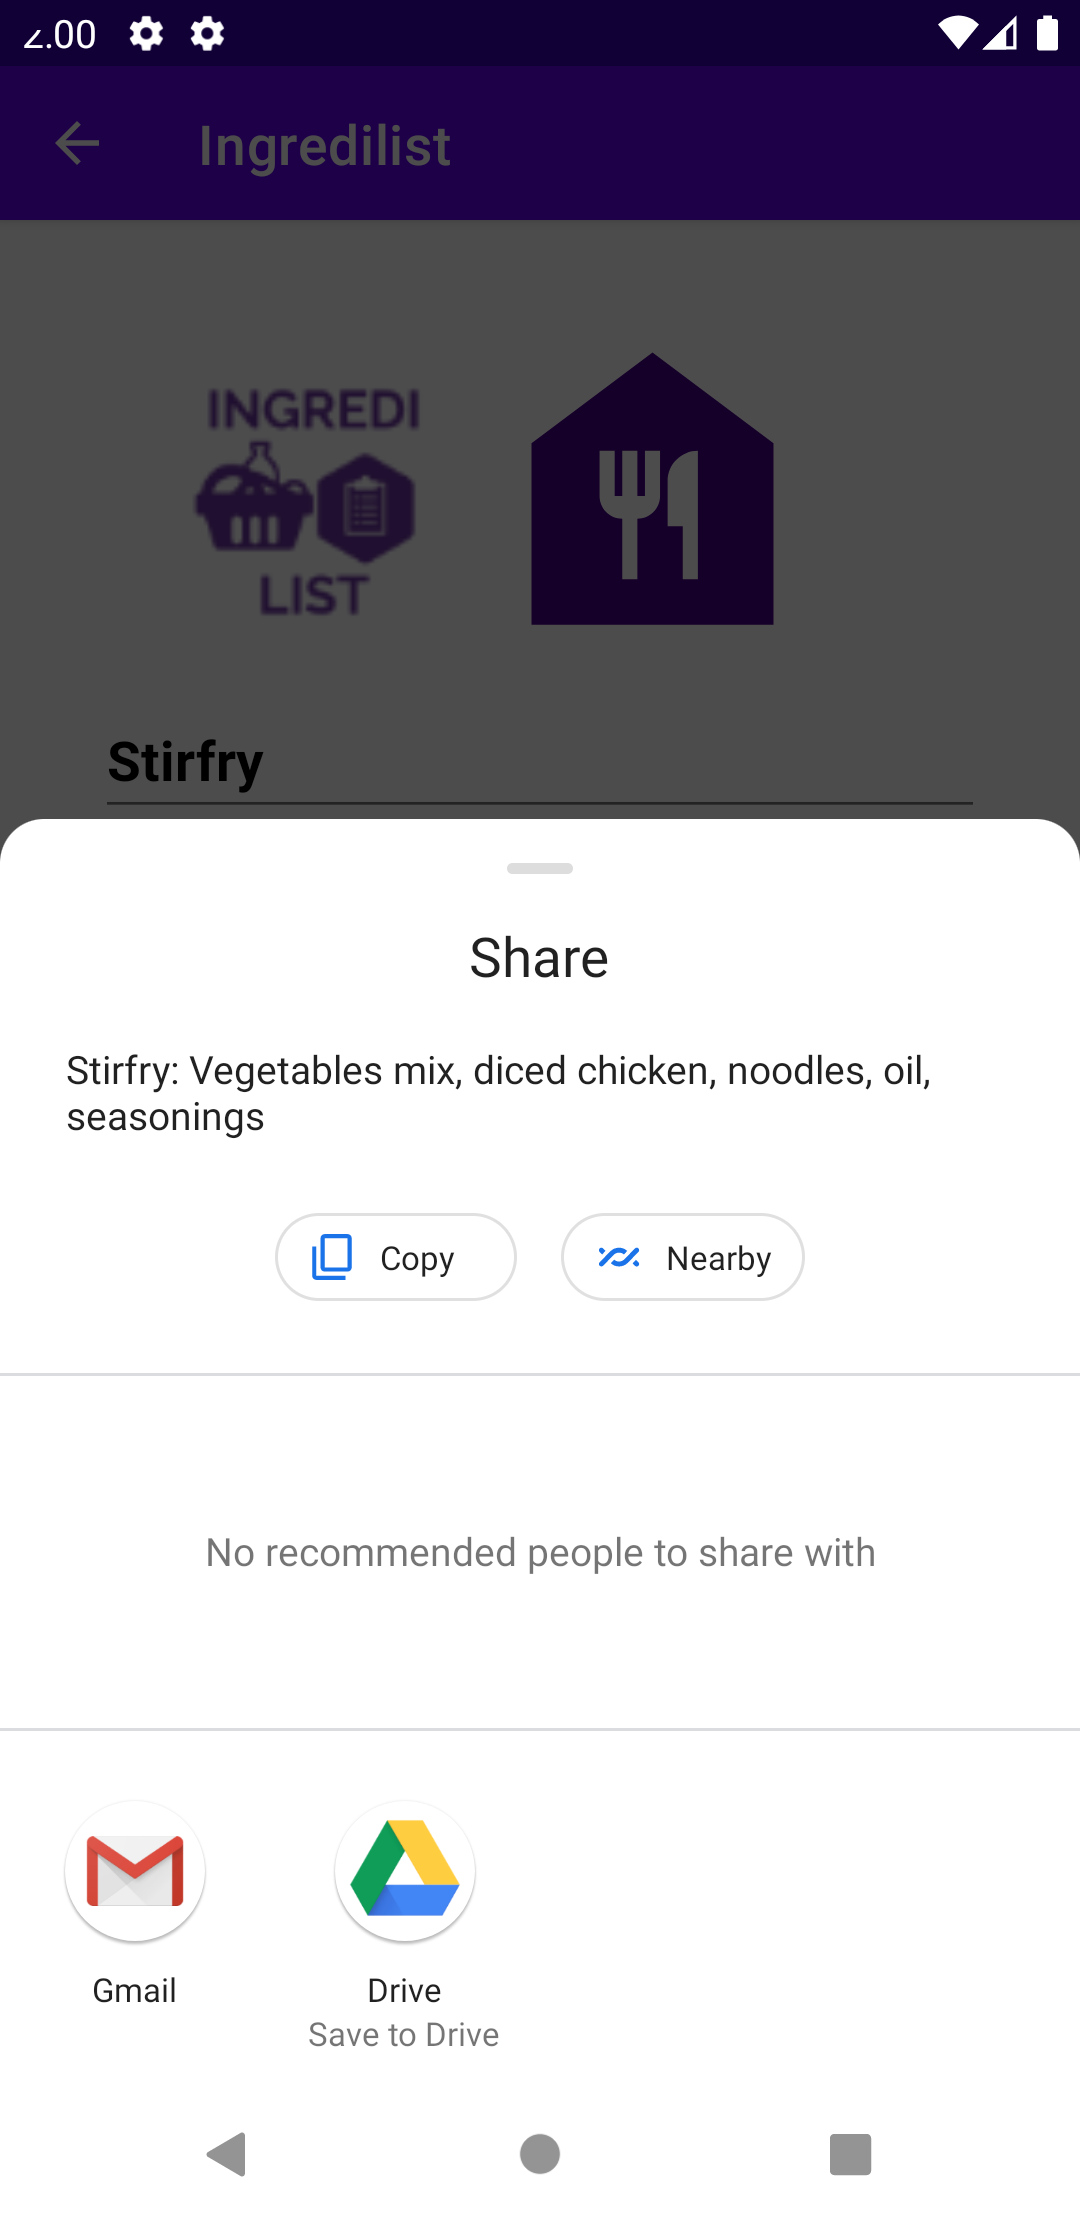
4.2 Sending a Meal Via E-Mail
This will then pop up the email clients. These email clients are external applications that are already installed on your device. Beneath the 'Share' text is what the message of your email will look like. It is the "meal name: ingredients list". Choose which email client you would like to send the email from.
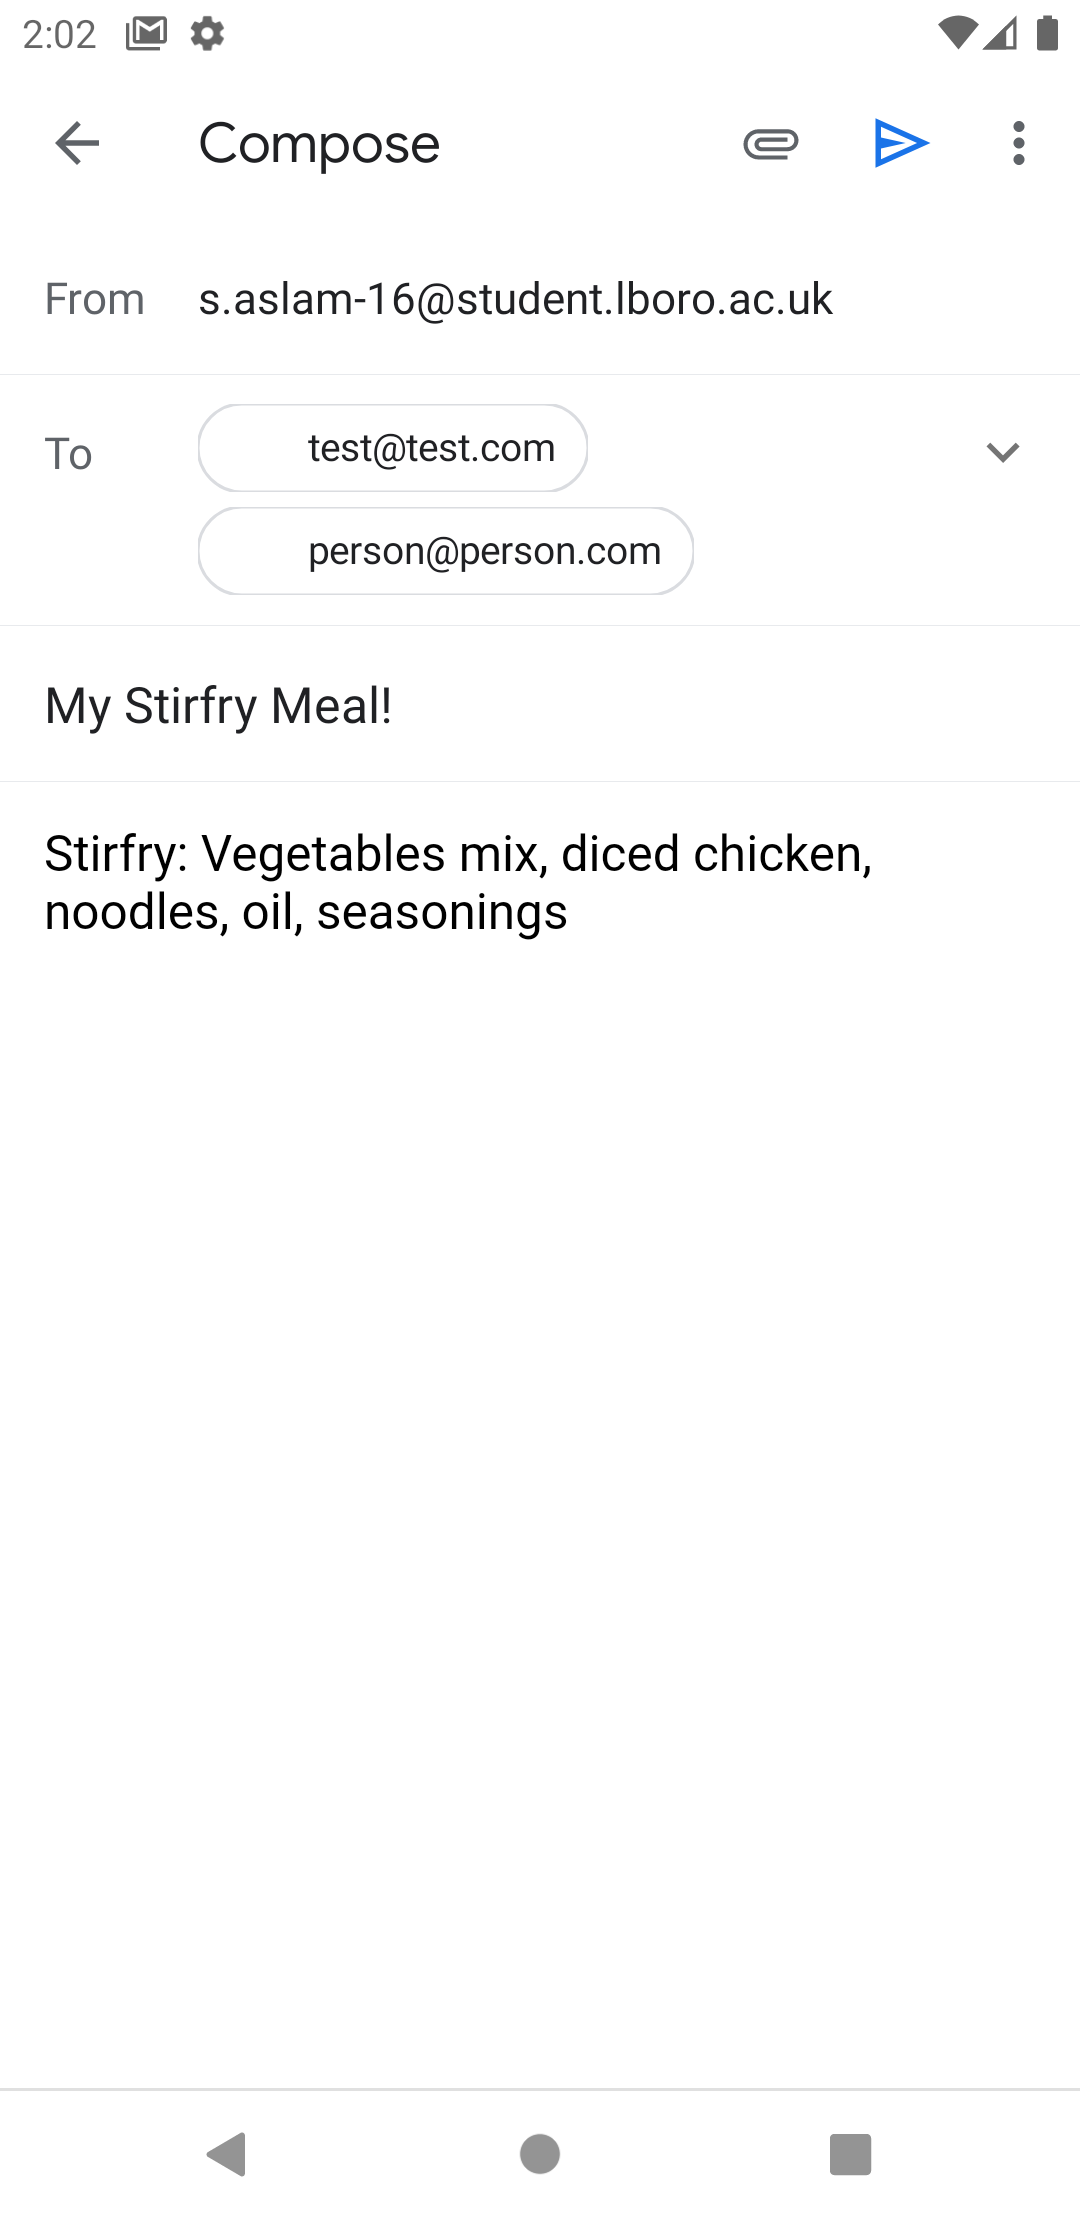
4.3 Sending a Meal Via E-Mail
After selecting which email client you would like to send the email from, you will be taken outside of this application to the email client. The email recipients and subject line message will automatically be added. Your meal name and information will also be automatically added to the email message part so it is ready to send
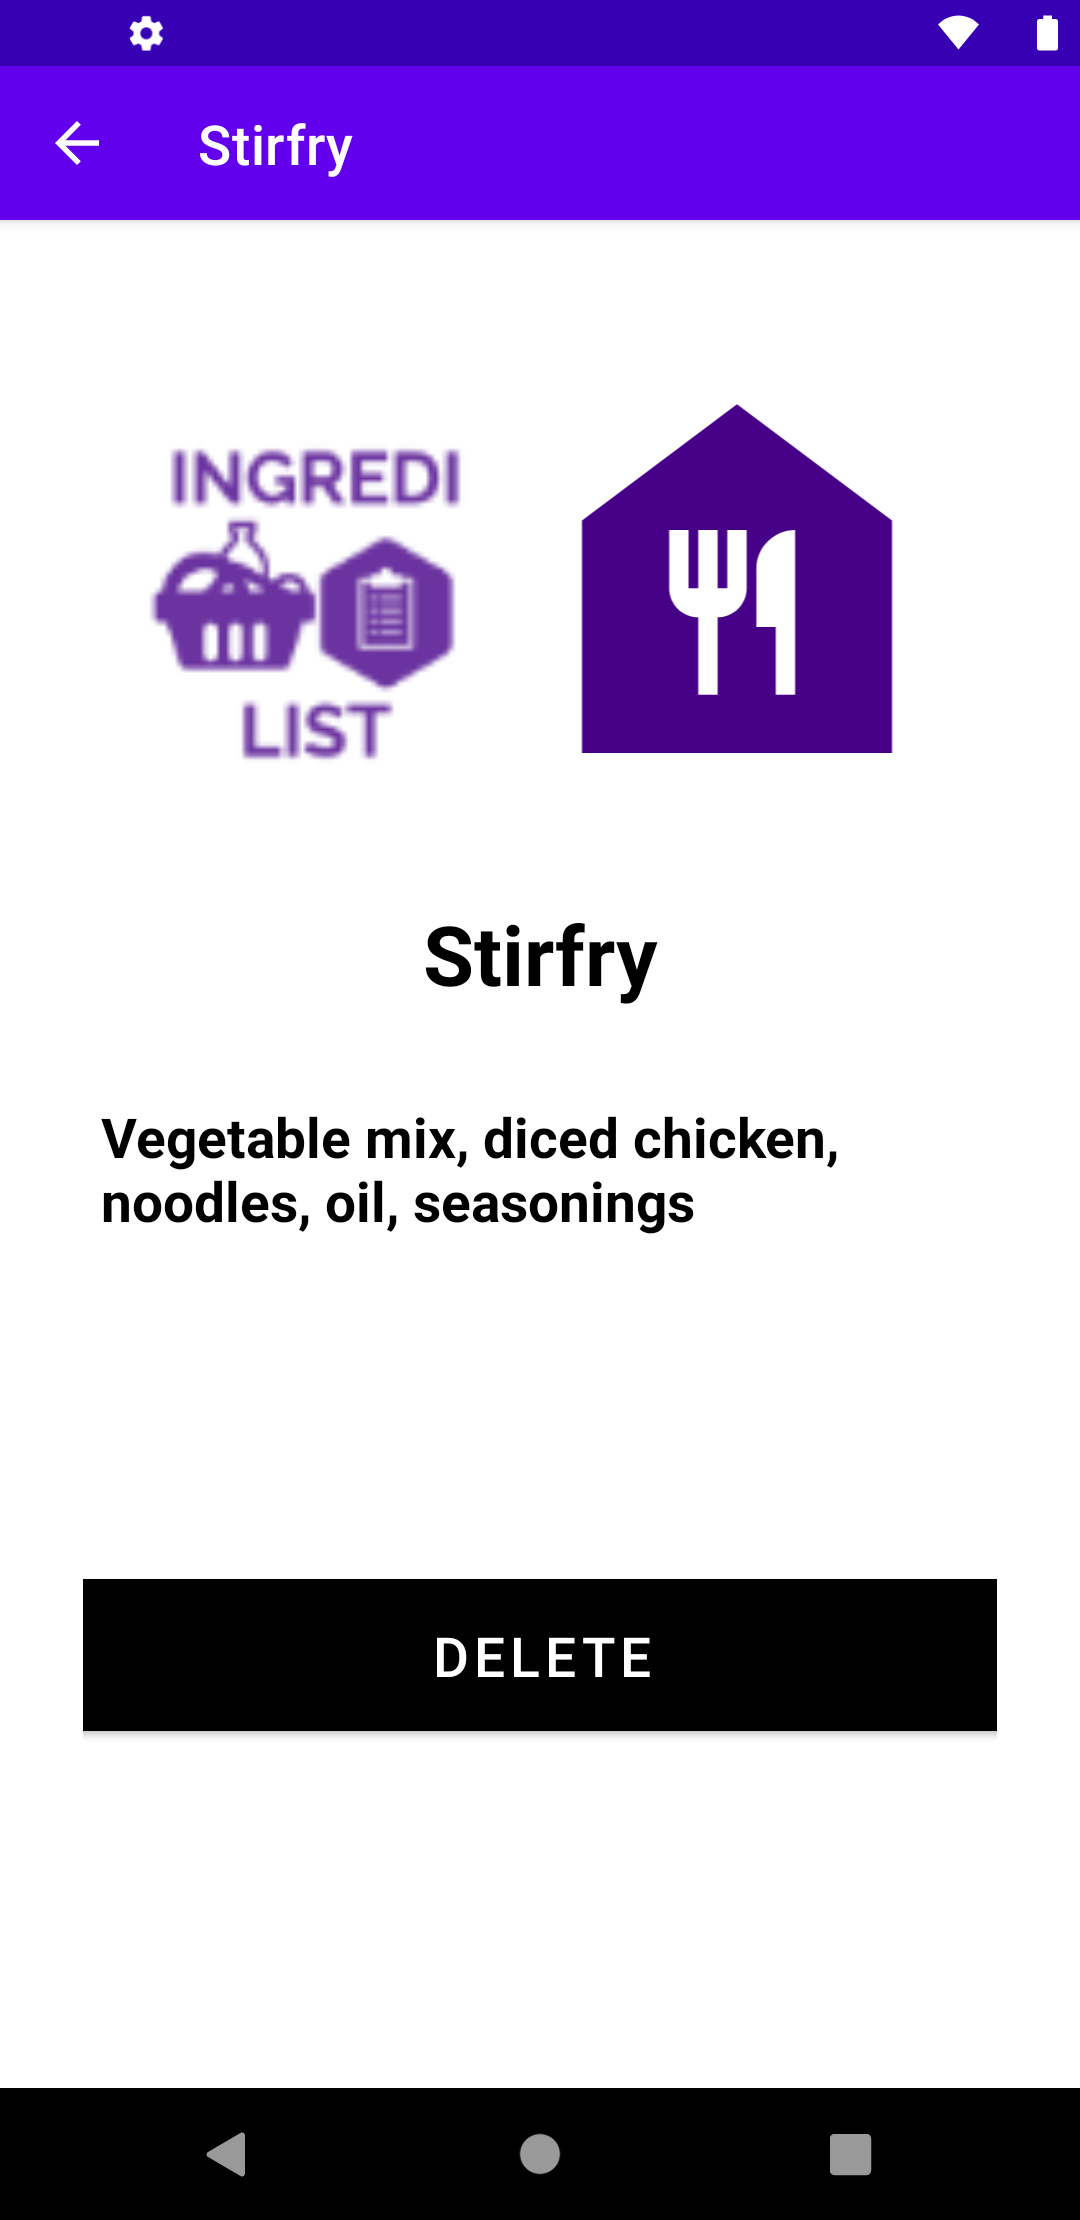
5.1 Deleting and Updating Meals
In order to delete meals, go back to the main My Meals screen and press one of your meals.You will then be taken to a screen regarding that meal where you can delete the meal by pressing the delete button.
After pressing delete, an alert dialog will appear on your screen to confirm if you would like to delete the meal in order to prevent any accident deletions. Alert Dialogues and Broadcast Notifications as such are used throughout the app to enhance user experience.
5.2 Deleting and Updating Meals
You will then be taken back to the screen listing all your meals and that meal that you decided to delete will be gone from both the view on the screen and your stored meals database.